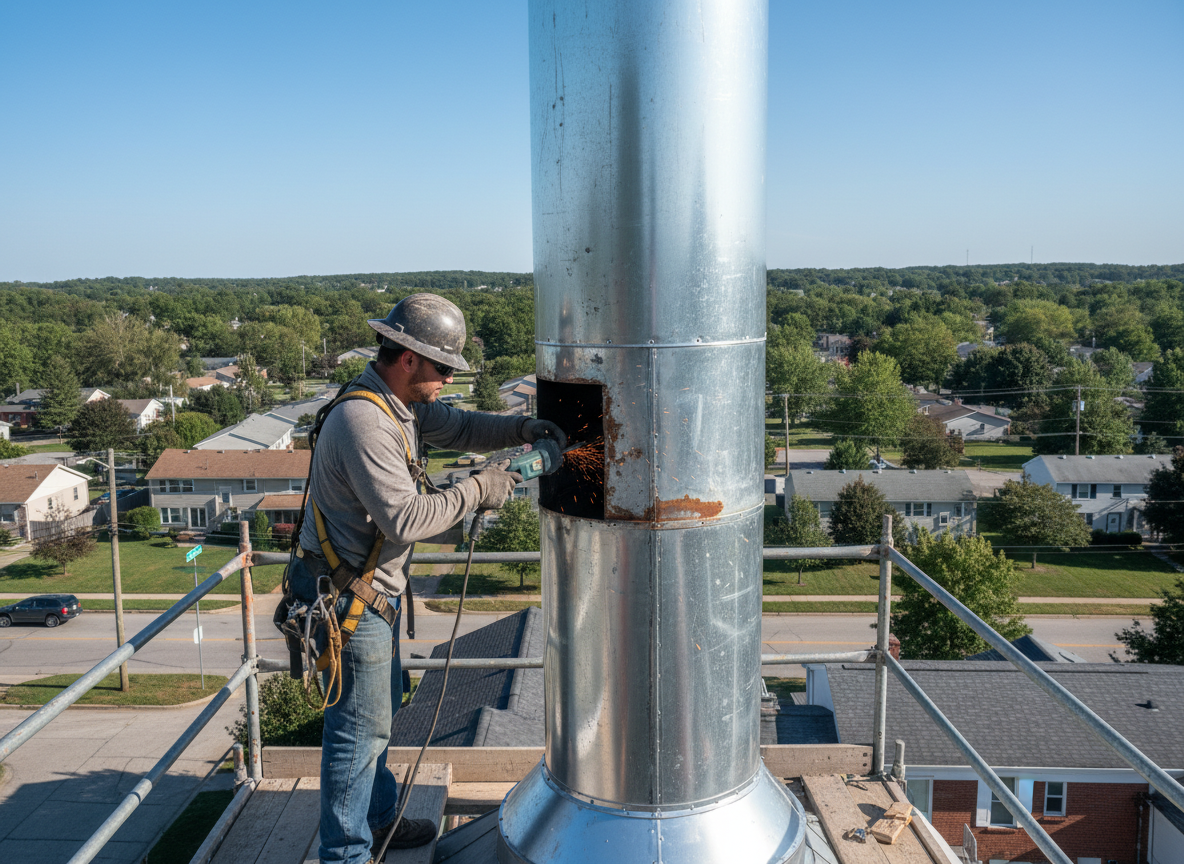
Metal chimneys in Blue Ash homes often show rust at the joints and cap base after repeated freeze-thaw cycles and heavy spring rains common along the Hamilton County suburbs. These liners, installed in many 1960s-1980s split-levels and ranches near Plainfield Road, expand and contract differently than the surrounding masonry, leading to gaps that allow water to reach the flue and attic. Technicians check for creosote buildup that accelerates corrosion and confirm the liner gauge meets current venting requirements before any patch or section replacement.
Edge cases include chimneys serving wood stoves added later, where the higher flue temperatures can warp thin metal if the original liner was sized only for the fireplace. In Blue Ash, trees along the Little Miami corridor drop leaves that clog caps and force moisture back down the pipe, creating hidden rust pockets above the roofline. Proper repair requires removing the old sealant, installing new high-temp silicone or clamp bands rated for the fuel type, and verifying draft with a smoke test once the work is complete.
Homeowners sometimes attempt temporary tape or spray fixes that fail within one season because they do not address the underlying expansion joint movement. Code requires that any liner replacement maintain the correct clearance to combustibles and terminate at the proper height above the roof. Peak Wrench works only on accessible sections from the roof or cleanout, leaving structural masonry work to specialists when the brick itself is compromised.
Seasonal guidance starts in late fall before snow load increases the chance of cap damage. Regular inspection of the rain cap, flashing, and interior cleanout door prevents small pinholes from turning into attic leaks during the first hard freeze.
Technician insight
In Blue Ash, the thing that catches most people out with metal chimney repair is how quickly the thin liners in 1970s homes along Plainfield Road start leaking once the original flashing lets water sit against the metal during our wet springs.
Rusted Liner on Blue Ash Split-Level
Homeowner noticed water stains near the fireplace after heavy March rain. Inspection showed pinholes in the metal liner where the cap flashing had pulled away. Crew replaced the upper three feet of liner, resealed the flashing, and confirmed draft with a smoke test. No further attic moisture appeared after the next storm.
How it works
- 1
Initial Assessment
Technician climbs to inspect the cap, flashing, and visible liner sections for rust, gaps, and creosote while checking draft from inside.
- 2
Access and Preparation
Remove the cap and any obstructing flashing, then clear debris from the cleanout to reach the damaged metal sections.
- 3
Liner Repair or Section Replacement
Cut out corroded portions, fit new stainless liner segments with proper overlap, and seal joints with high-temperature materials rated for the appliance.
- 4
Reassembly and Testing
Reinstall cap and flashing, then perform a smoke test to confirm no leaks before leaving the site.
Pricing
Pricing depends on liner length, access difficulty, and whether only sections or the full run needs replacement.