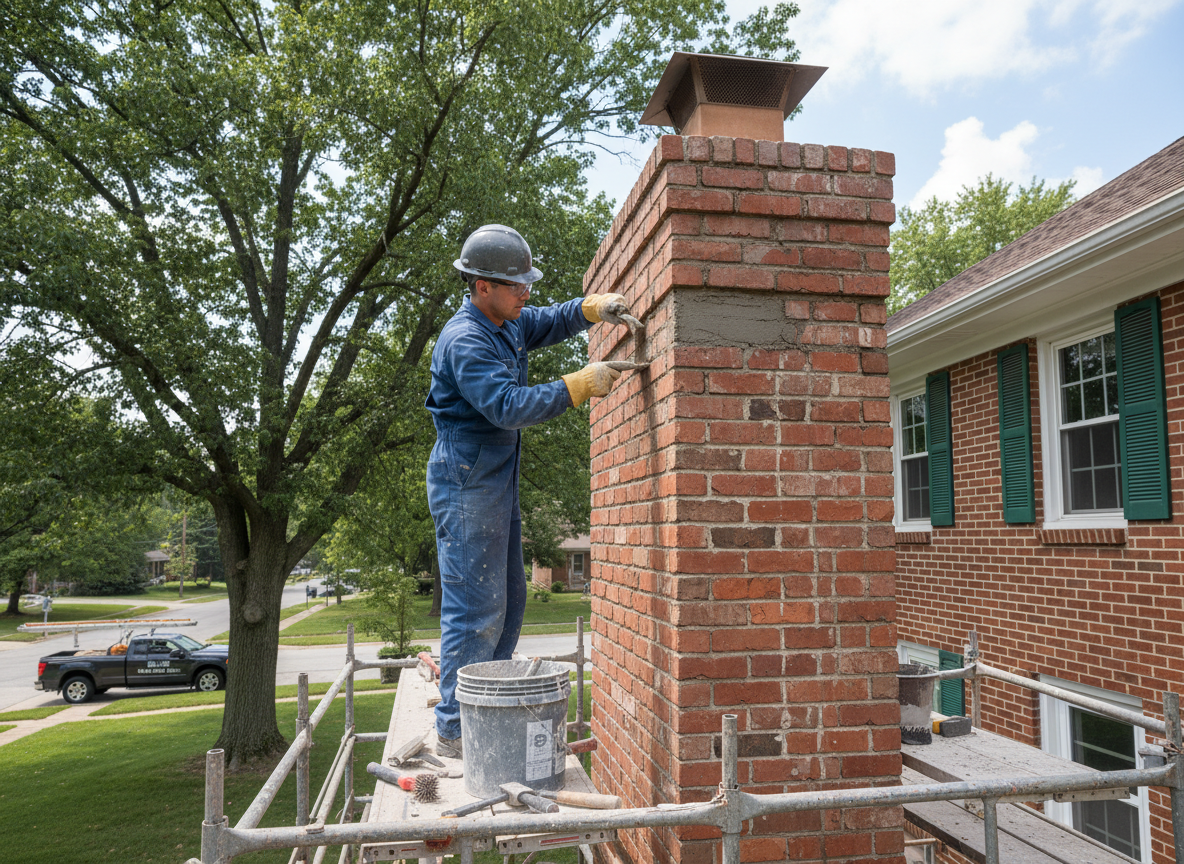
Blue Ash chimneys built from the 1950s through the 1970s often show mortar failure first along the north and west faces where winter winds drive rain and snow against the brick. Once joints crack, water migrates behind the face brick and accelerates spalling during the repeated freeze-thaw cycles common in Hamilton County. We remove the loose material to a consistent depth, then pack fresh Type N mortar that matches the original color and texture so the repair blends without standing out from the street.
Tuckpointing on these older stacks requires careful joint profiling because many Blue Ash homes have single-wythe chimneys that sit directly on the roof deck without a cricket. Rushing the tooling leaves a concave joint that traps water, while over-filling can push the bricks out of alignment. We work in small sections, keeping the work area damp so the new mortar cures slowly even on warm spring days when sudden temperature drops are still possible.
Homeowners sometimes confuse surface staining with structural mortar loss. We probe every joint on the chimney above the roofline and inside the attic chase before quoting, because hidden deterioration above the flashing can send water into the ceiling framing of ranch homes along Plainfield Road and surrounding neighborhoods. Addressing only the visible areas leaves the root cause untouched and usually leads to repeat calls within two seasons.
Technician insight
In Blue Ash, the thing that catches most people out with chimney mortar repair is how quickly the 1960s-1970s ranch chimneys along Plainfield Road and nearby streets lose mortar on the prevailing wind side once the first joint opens. The freeze-thaw cycles here push water behind the brick faster than homeowners expect, and by the time they notice white efflorescence the flashing is often already compromised.
Wind Side Mortar Loss on a Plainfield Road Chimney
A Blue Ash homeowner called after spotting white streaks on the west face of their chimney. We found multiple open joints and early water tracking behind the brick above the flashing. We cut out the failed mortar on that exposure, repointed with matching mortar, and confirmed the roof flashing remained intact. The repair stopped further water entry without requiring a full chimney rebuild.
How it works
- 1
Site Inspection
We examine every mortar joint above the roofline and inside the attic, checking for loose brick, water staining, and flashing condition on Blue Ash chimneys.
- 2
Joint Removal
Damaged mortar is ground out to a uniform depth without damaging the brick edges, then the joints are brushed clean of dust and debris.
- 3
Repointing
Fresh mortar is packed into the joints in layers, tooled to match the existing profile, and kept moist during cure to handle local temperature swings.
- 4
Final Check
We verify the new mortar has bonded, clean the work area, and walk the homeowner through any additional flashing or crown work needed.
Pricing
Pricing depends on chimney height, number of affected sides, and whether scaffolding or roof protection is required; we provide an upfront quote after inspection.