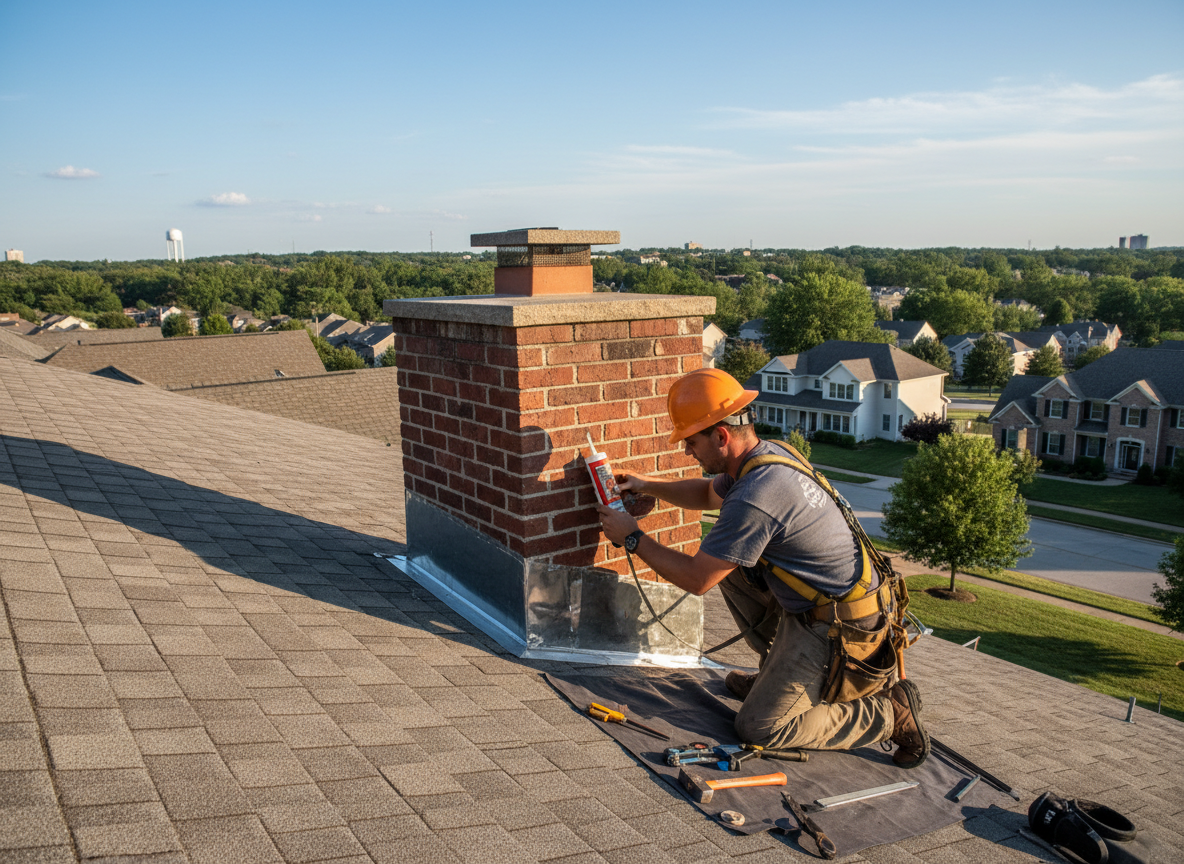
Chimney flashing repair in Blue Ash homes often involves step flashing integrated with asphalt shingles or slate on roofs built from the 1960s onward. The freeze-thaw cycles typical in Hamilton County loosen the metal-to-brick seal, allowing water to migrate behind the counter flashing and into the attic. Technicians remove deteriorated lead or aluminum pieces, clean the mortar joints to sound material, and reinstall new flashing with proper overlap and sealant compatible with the existing masonry.
Edge cases appear when chimneys sit on the lower side of a valley or near large trees that drop debris. In these spots, water volume increases and standard step flashing fails faster. Crews inspect for rotted sheathing and replace sections before new flashing goes in, preventing repeat callbacks after the next heavy rain. Code requires flashing to extend at least six inches up the chimney and under the roofing material, a detail verified on every Blue Ash job.
Homeowners sometimes attempt sealant-only fixes that crack within one season. Proper repair always replaces the metal components rather than covering old ones. Access on two-story homes in neighborhoods around Plainfield Road requires scaffolding, and crews coordinate with roof pitch to maintain watershed integrity at the cricket or saddle if present.
Blue Ash Housing Stock Realities
Older brick chimneys in Blue Ash commonly suffer from differential settling where the foundation meets the main house slab, pulling flashing out of alignment. This movement repeats annually with soil moisture changes in the area and requires flexible flashing details rather than rigid metal only.
Technician insight
In Blue Ash, the thing that catches most people out with chimney flashing repair is how the clay-rich soil around older split-level homes shifts after heavy spring rains and torques the chimney base, reopening seams that looked fine from the ground.
Flashing Failure on a 1970s Ranch
Water stains appeared on the ceiling after winter storms. Inspection showed rusted step flashing where the chimney met the asphalt shingles. Crews replaced the metal, reset the counter flashing into fresh mortar, and added a cricket to divert valley flow. No further leaks occurred the following season.
How it works
- 1
Initial Inspection
Technician climbs the roof from the 9000 Plainfield Rd base and checks flashing condition, mortar joints, and water entry points around the chimney.
- 2
Material Removal
Old flashing and sealant are cut away without damaging surrounding shingles or brick.
- 3
Preparation and Replacement
Joints are cleaned, new step and counter flashing installed with correct overlap, and sealed for Blue Ash weather exposure.
- 4
Final Check and Cleanup
Water test confirms no leaks; debris is removed and the site left clean.
Pricing
Cost depends on chimney height, roofing type, and extent of hidden damage behind the flashing.