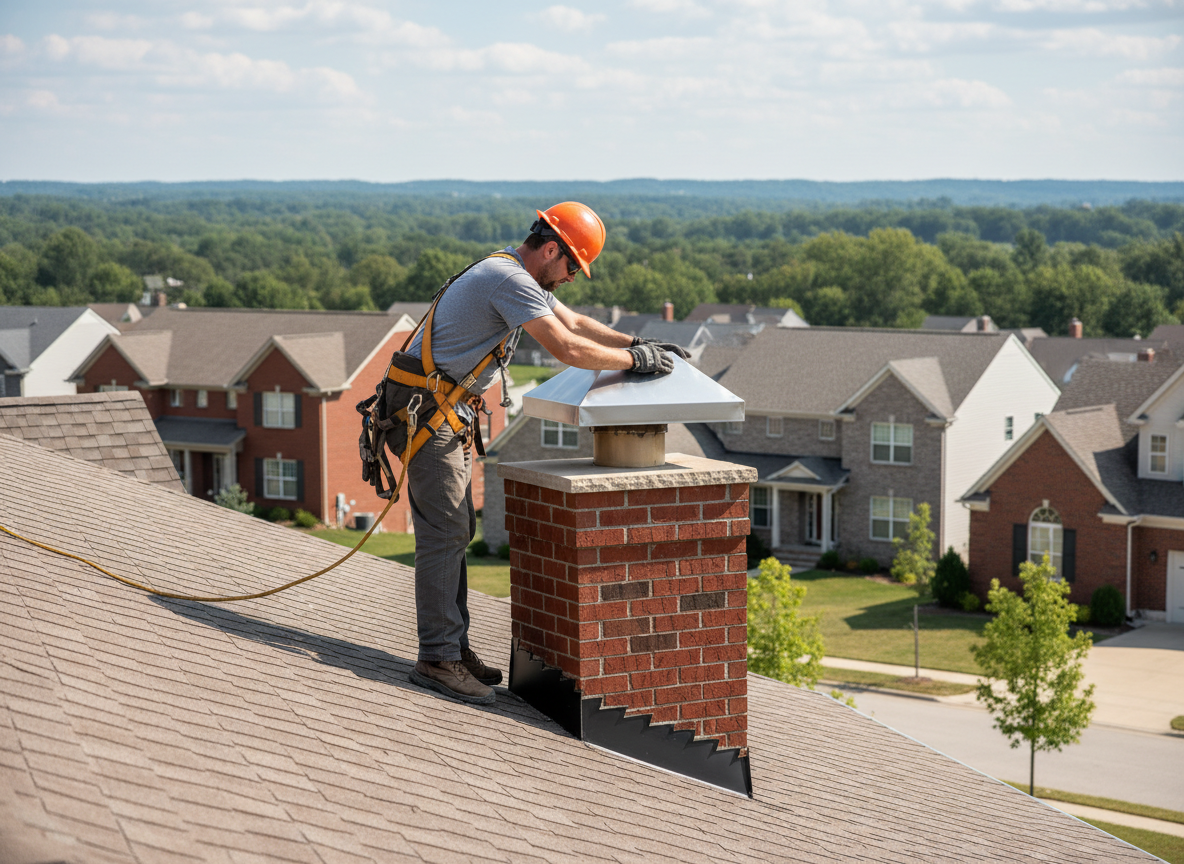
Blue Ash homes built from the 1960s onward often feature masonry chimneys with standard 8x8 or 8x12 flues that suffer rapid deterioration when left uncapped. Rain and melting snow enter the flue, freeze in winter, and crack mortar joints, allowing water to reach the attic and interior walls. A properly fitted cap with a stainless steel mesh screen stops this cycle while still permitting exhaust gases to escape without creating excessive back pressure on wood-burning or gas appliances.
Installation requires measuring the exact flue dimensions on site because Blue Ash roofs vary from low-slope asphalt shingles to steeper cedar shakes common in neighborhoods north of Plainfield Road. We secure the cap with stainless steel straps anchored into the flue tile rather than relying solely on the crown, which frequently spalls in our freeze-thaw cycles. This method avoids future leaks at the crown-to-flue junction that homeowners later discover during heavy spring rains.
Code compliance in Hamilton County calls for caps that maintain the required clearance above the roofline and do not obstruct the chimney's natural draft. We remove the old damaged crown material when necessary and point any open joints before setting the new cap, preventing hidden moisture pockets that would otherwise migrate into the living space below.
Homeowners in Blue Ash frequently notice birds or squirrels entering the flue during nesting season; the mesh on a quality cap stops entry without restricting airflow. We also check for creosote buildup and recommend a sweep before final cap placement so the system starts the heating season clean.
Technician insight
In Blue Ash the thing that catches most people out with chimney cap installation is the older brick chimneys on split-level homes north of Plainfield Road where the crown has already spalled; if you just bolt a cap on without repointing first, water keeps migrating behind the new cap and you end up back on the roof in two winters.
Uncapped Flue on a Blue Ash Split-Level
Heavy spring rain had been entering an open flue on a 1970s split-level near Kenwood Road. We found standing water inside the smoke chamber and deteriorated crown mortar. We repointed the joints, installed a custom stainless cap with mesh, and verified draft on both the fireplace and furnace flues. The homeowner reported no further moisture stains in the attic after the next rain.
How it works
- 1
Site Assessment
We measure the flue, inspect the crown and flashing, and note roof pitch and nearby tree cover at the Blue Ash address.
- 2
Cap Selection
We choose a stainless or galvanized cap sized to the flue with appropriate mesh to handle local wind and wildlife pressure.
- 3
Preparation
Old crown material is removed if deteriorated, joints are repointed, and the flue top is cleaned of debris.
- 4
Installation
The new cap is anchored with stainless straps, sealed at the base, and tested for draft before leaving the site.
- 5
Final Check
We verify clearances, confirm no obstruction to exhaust, and walk the homeowner through the finished work.
Pricing
Pricing varies by flue size, roof access, and condition of the existing crown; we provide an upfront quote after the on-site assessment.